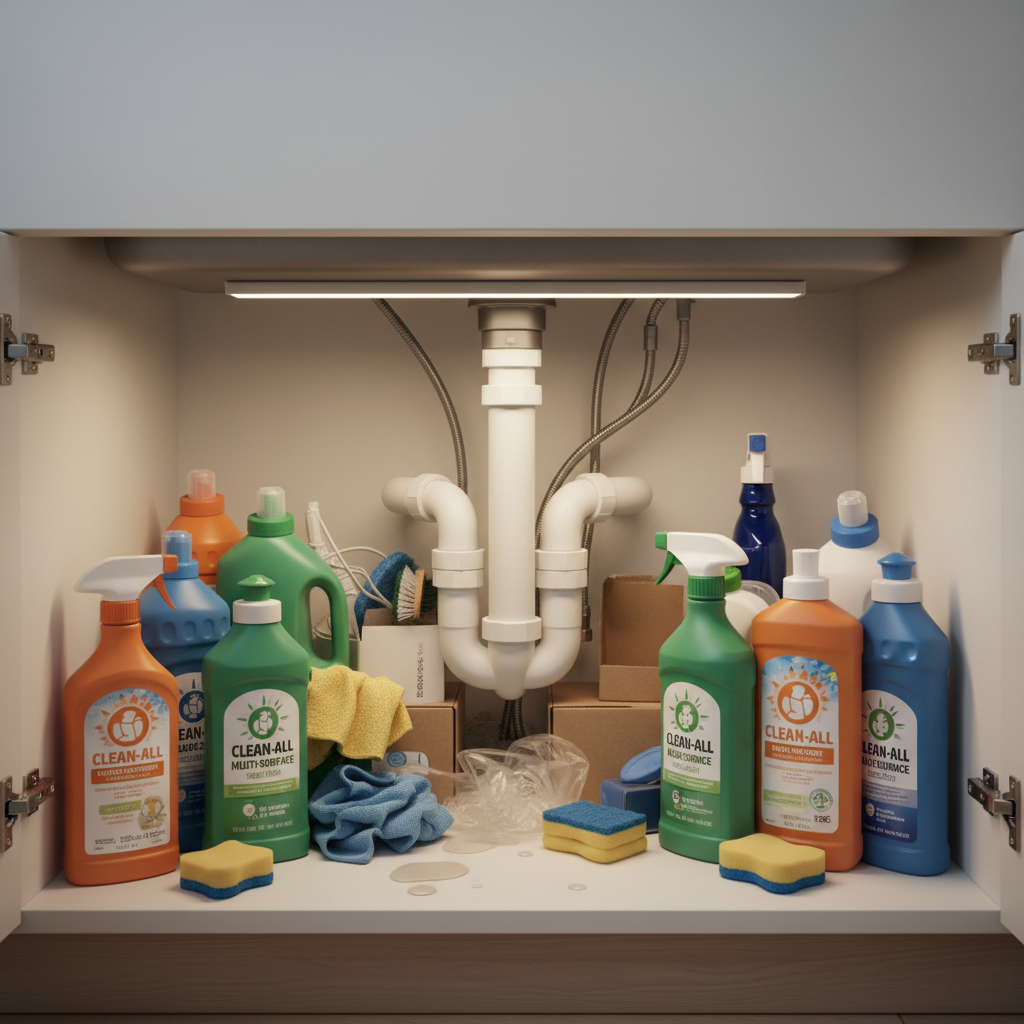
How to organize cleaning supplies under the sink starts with one honest takeaway: most messes down there are caused by mixing too many product types in one dark, leaky cabinet with zero “rules.” The goal is not a Pinterest-perfect shelf, it’s quick access, fewer spills, and safer storage around plumbing.
If you’ve ever pulled out a bottle only to find a mystery puddle, or bought duplicates because you couldn’t see what you already had, you’re not alone. Under-sink storage punishes “just toss it in” more than almost any other spot in the house.
This guide walks you through a practical setup you can maintain: quick sorting, a simple zoning system, a small shopping list of organizers, and the safety details people skip. You’ll also get a decision table so you can choose the right containers without overbuying.
Why under-sink cabinets get out of control (and what to do about it)
Under-sink storage is a perfect storm: awkward pipes, limited height, humidity, and constant in-and-out access. A few patterns show up in most homes.
- Too many categories in one pile: sprays, dishwasher pods, trash bags, and tools all compete for the same footprint.
- Leaky bottles and micro-drips: caps loosen, trigger sprayers crack, and plumbing condensation can leave everything sticky.
- No visibility: if you can’t see labels from the front, you buy backups and keep stuffing.
- “Someday” items: half-used specialty cleaners that rarely earn cabinet real estate.
The fix is boring but effective: fewer items, clear zones, and containers that slide out so you don’t have to crawl into the cabinet.
A 10-minute self-check: what kind of under-sink setup do you need?
Before you buy bins, check these realities. Your answers decide which organizers actually work.
- Do you have a garbage disposal or extra plumbing? If yes, you’ll need shorter bins and a tighter layout.
- Do you store kid/pet-accessible products here? If yes, prioritize latching storage or move harsh chemicals up high.
- Is the cabinet base raw particleboard? If yes, you’ll want a liner and leak protection fast.
- Do you use mostly wipes/pods instead of liquids? If yes, drawers and small bins beat tall caddies.
- Do you clean in multiple rooms? If yes, a portable caddy prevents “migration clutter.”
If you nodded yes to leaks, kids/pets, or raw cabinet floors, build your system around prevention and safety first, aesthetics second.
Step-by-step: organize cleaning supplies under the sink without overthinking it
This is the sequence that tends to stick, because each step makes the next one easier.
1) Empty everything and do a fast purge
Pull it all out, wipe the cabinet floor, then make quick calls. If you hesitate on every item, you’ll stall.
- Trash anything leaking, unlabeled, or crusted shut.
- Recycle empties and near-empties you never reach for.
- Group duplicates together so you can keep one “open” and one “backup.”
According to the U.S. Environmental Protection Agency (EPA), you should always read and follow label instructions for household chemicals and keep them in their original containers, which also helps you avoid mystery bottles later.
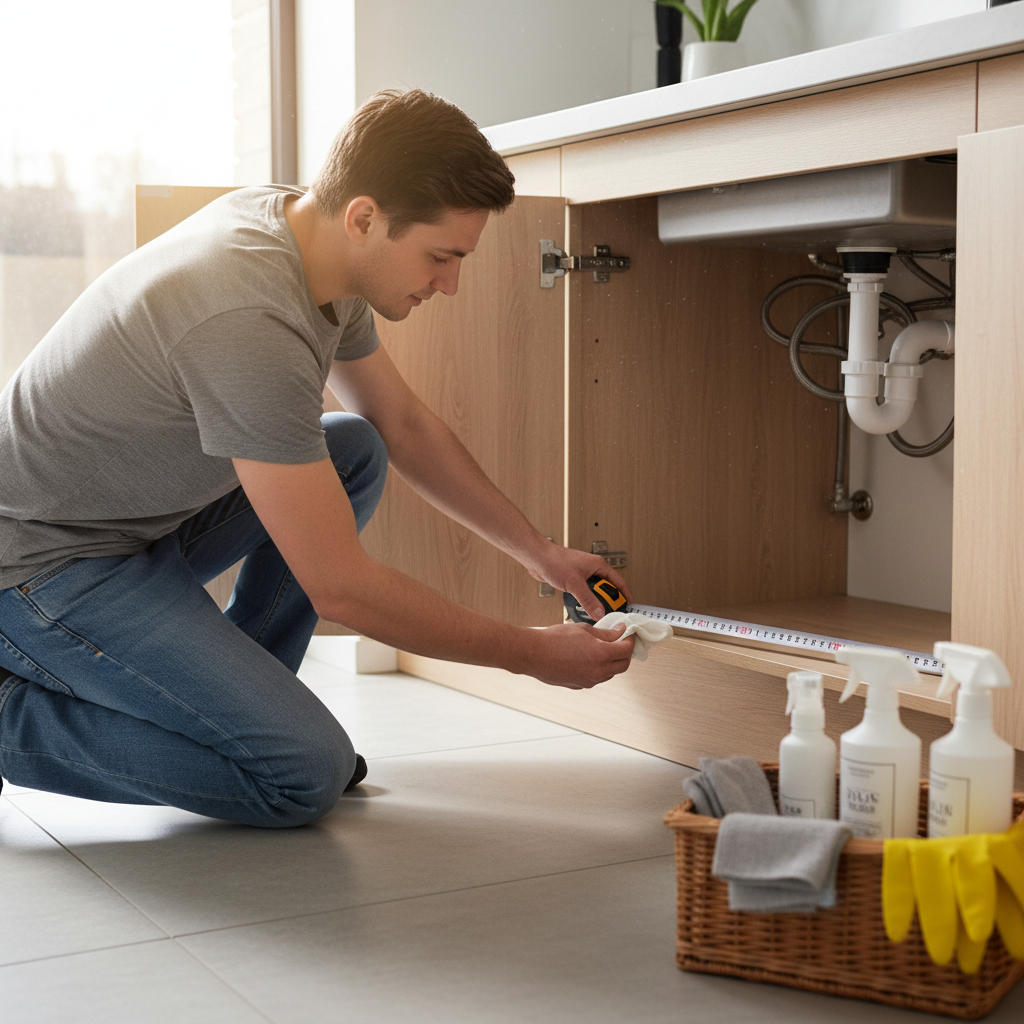
2) Measure the cabinet (yes, really)
Measure width, depth, and the shortest usable height (often under the drain bend). Also measure any “dead zones” you can’t use because of valves or a disposal.
- Write the smallest height you have to work with.
- Note if the cabinet door hinges steal space from wide bins.
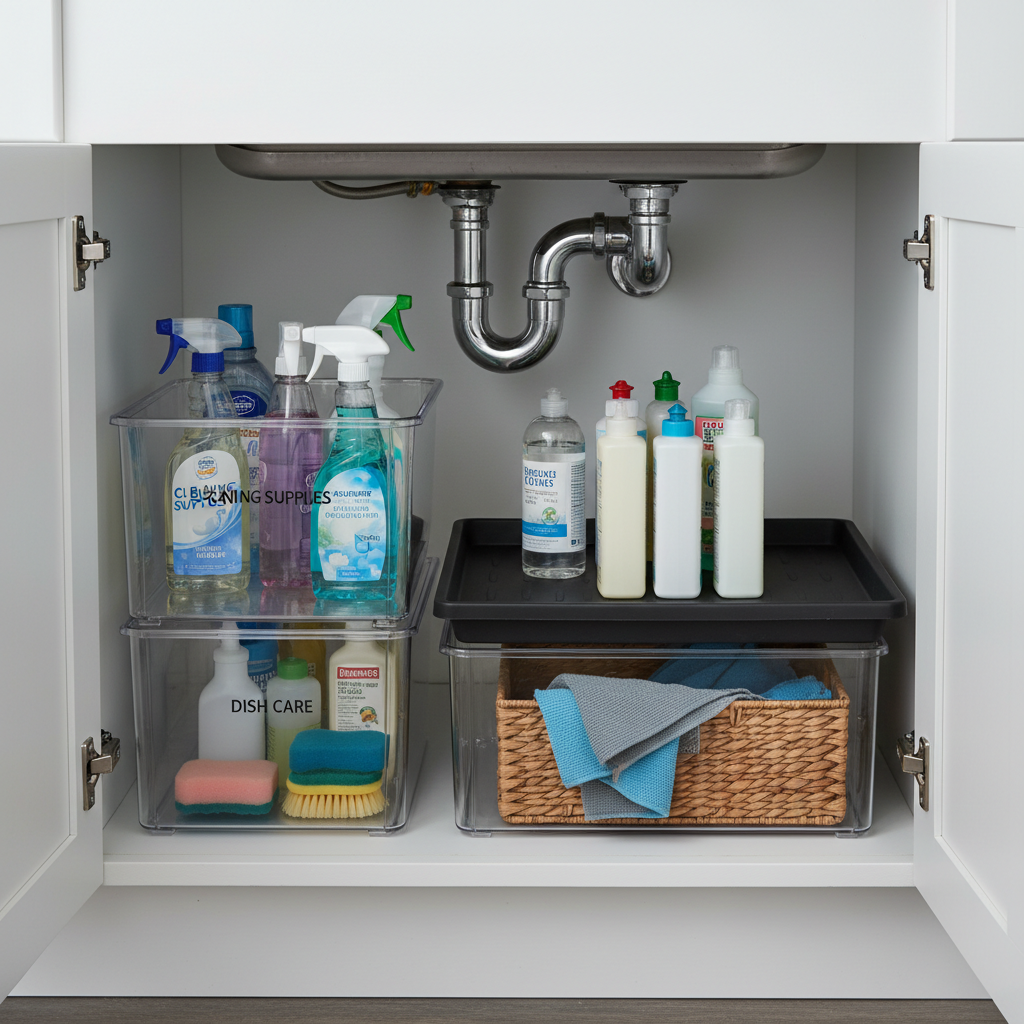
3) Create 3 core zones
Most households only need three zones under the sink. Keep it simple so you can put things back without thinking.
- Daily zone: the 3–6 products you use weekly (dish soap, all-purpose cleaner, sponges, gloves).
- Backstock zone: refills, extra trash bags, dishwasher pods.
- Tools zone: brushes, microfiber cloths, small scrubbers, magic erasers.
If you store anything hazardous (oven cleaner, strong drain products), treat it as a separate “restricted” mini-zone and consider moving it out of this cabinet depending on your household.
Pick the right organizers: a quick decision table
The best container is the one that fits around pipes and slides out without snagging. Use this table to avoid buying trendy organizers that don’t work in real cabinets.
| Organizer | Best for | Watch-outs | Pro tip |
|---|---|---|---|
| Pull-out bin (no install) | Daily zone, mixed items | Can tip if overloaded | Choose one with a low center of gravity and grippy feet |
| 2-tier sliding organizer | Sprays + small items | May not fit with tall bottles or deep pipes | Measure bottle height, not just shelf height |
| Clear handled caddy | Carrying supplies room to room | Encourages overstuffing | Limit it to your “cleaning kit,” not storage for everything |
| Turntable (lazy Susan) | Short bottles, pods | Wobbles on uneven cabinet floors | Add a non-slip mat under it if needed |
| Over-the-door rack | Sponges, gloves, brushes | Can interfere with door closing | Use for lightweight tools, not heavy liquids |
| Leak tray / cabinet liner | Preventing damage, easy wipe-downs | Must fit around pipes | Use a shallow tray under liquids; liner everywhere else |
A layout that works in most U.S. kitchens (even with pipes)
If you’re stuck staring at a U-shaped pipe maze, this is a reliable layout to start with.
- Front-left (easy reach): daily bin with dish soap, all-purpose cleaner, sponge holder, gloves.
- Front-right: tools bin for brushes and cloths, ideally with a divider.
- Back area: backstock in a lidded bin so it doesn’t creep forward.
- Door interior: lightweight hooks for gloves or a small rack for cloths.
For taller spray bottles, keep them near the cabinet front where height is usually better, and avoid forcing them behind the drain trap where they snag.
One small upgrade that changes everything: add a shallow leak tray under any liquid cleaners. When something drips, cleanup becomes a 30-second rinse instead of a cabinet rebuild.
Safety and “don’t regret it later” details
Organizing is great, but under-sink storage also has real safety stakes. A few guardrails prevent common mistakes.
- Keep products in original containers, especially anything with hazard warnings, so labels and first-aid instructions stay attached.
- Don’t mix chemicals or store “DIY mixtures” in unmarked bottles. If you’re unsure whether products react, keep them separated and read labels.
- Child/pet access: many under-sink cabinets are at eye level for toddlers and curious pets. Consider a cabinet lock or moving harsh chemicals elsewhere.
- Ventilation and humidity: some cabinets stay damp; use plastic bins and avoid cardboard that can warp or mold.
According to the American Association of Poison Control Centers (AAPCC), household chemicals can be a poisoning risk, so storing them securely and using cabinet latches in homes with children is a sensible precaution. If an exposure happens, contacting Poison Control or a medical professional is generally advised.
Keep it organized: a simple 5-minute weekly reset
Even the best system drifts. The trick is making “maintenance” so small you’ll actually do it.
- Put obvious strays back into their zone.
- Wipe the leak tray and check bottle caps.
- Move half-empty bottles to the front so you finish them before opening backups.
- Do a quick inventory of your daily zone and replace one thing you’re always missing (sponges, gloves, dishwasher pods).
Key takeaway: if your weekly reset takes longer than five minutes, your categories are too complicated or you kept too much under the sink.
Conclusion: a cleaner cabinet that stays that way
Once you decide your zones and give liquids a leak-proof “home,” organizing stops feeling like a one-time project and becomes a small habit. Start with a purge and a wipe-down, add one pull-out bin for daily items, and protect the cabinet base with a liner or tray, you’ll see the difference fast.
If you want a quick next step, do this today: measure the cabinet, pick one container style you can slide out easily, and commit to a daily zone with only what you use weekly.
FAQ
How do I organize cleaning supplies under the sink with a garbage disposal?
Prioritize short pull-out bins that fit under the lowest pipe, and keep tall sprays toward the cabinet front corners. If a bin catches on the disposal unit, swap to two narrower bins instead of one wide one.
What cleaning products should not be stored under the sink?
It depends on your household, but many people avoid storing highly caustic chemicals where kids or pets can reach, or where leaks might go unnoticed. If you’re unsure, check the label storage guidance and consider a higher, locked cabinet.
How can I prevent leaks from ruining the cabinet floor?
Use a shallow plastic tray under liquids and a waterproof liner elsewhere. Also check sprayer heads and caps during your weekly reset, a small crack often shows up as a sticky ring before it becomes a puddle.
Should I decant cleaning products into matching bottles?
Usually no for anything with hazard instructions, because you lose the original label details. For gentle items like vinegar solutions, only do it if you label clearly and keep it separate from look-alike bottles, and stop if it causes confusion.
What’s the best way to organize cleaning cloths and sponges?
Give them their own small “tools” bin and keep it dry, not tucked behind liquids. If sponges stay wet, a vented holder or drying rack near the sink can work better than storing them in a closed cabinet.
How many cleaning products do I actually need under the sink?
In many kitchens, a small daily set covers most needs: dish soap, an all-purpose cleaner, a disinfecting option if you use one, plus gloves and a few cloths. Backstock can live behind that, but if you can’t see it, you’ll overbuy.
How do I organize cleaning supplies if I rent and can’t drill anything?
Stick to no-install pull-out bins, tension rods, and over-the-door organizers that hook on. Rent-friendly setups work well as long as you keep liquids in trays and avoid overloading door racks.
If you’re already doing the purge and still feel stuck, it often means your cabinet layout fights your storage habits. If you need a more hands-off option, consider a simple “daily kit” caddy plus two labeled bins for backstock and tools, it’s a low-commitment setup that stays flexible when your products change.