how to organize a small fridge comes down to one idea: stop treating it like one big box, and start treating it like a set of zones with rules.
If your fridge is always “full” but you still can’t find anything, it’s rarely because you need a bigger appliance, it’s because items don’t have a home, airflow gets blocked, and leftovers get buried until they turn into a science project.
This guide walks you through a practical setup for a compact fridge, what goes where (and why), a quick reset routine you can actually keep up with, plus a few storage tools that help without turning your fridge into a Pinterest project.
Start with the real constraints: space, airflow, and temperature
A small fridge punishes “random placement” faster than a full-size one, mostly because every inch affects cooling, visibility, and how often you open the door. Before you buy containers, get clear on what you’re working with.
- Airflow matters: cold air needs room to move, cramming items against vents can create warm pockets that spoil food faster.
- Not all shelves are equal: many fridges run colder on the back wall and lower shelves, which is great for some foods and risky for others.
- Doors run warmer: frequent opening makes door storage the least stable temperature zone.
According to the U.S. Food and Drug Administration (FDA), refrigerated foods should be kept at 40°F (4°C) or below to slow bacterial growth. In a compact fridge, a $10–$15 fridge thermometer can be a small upgrade with outsized impact.
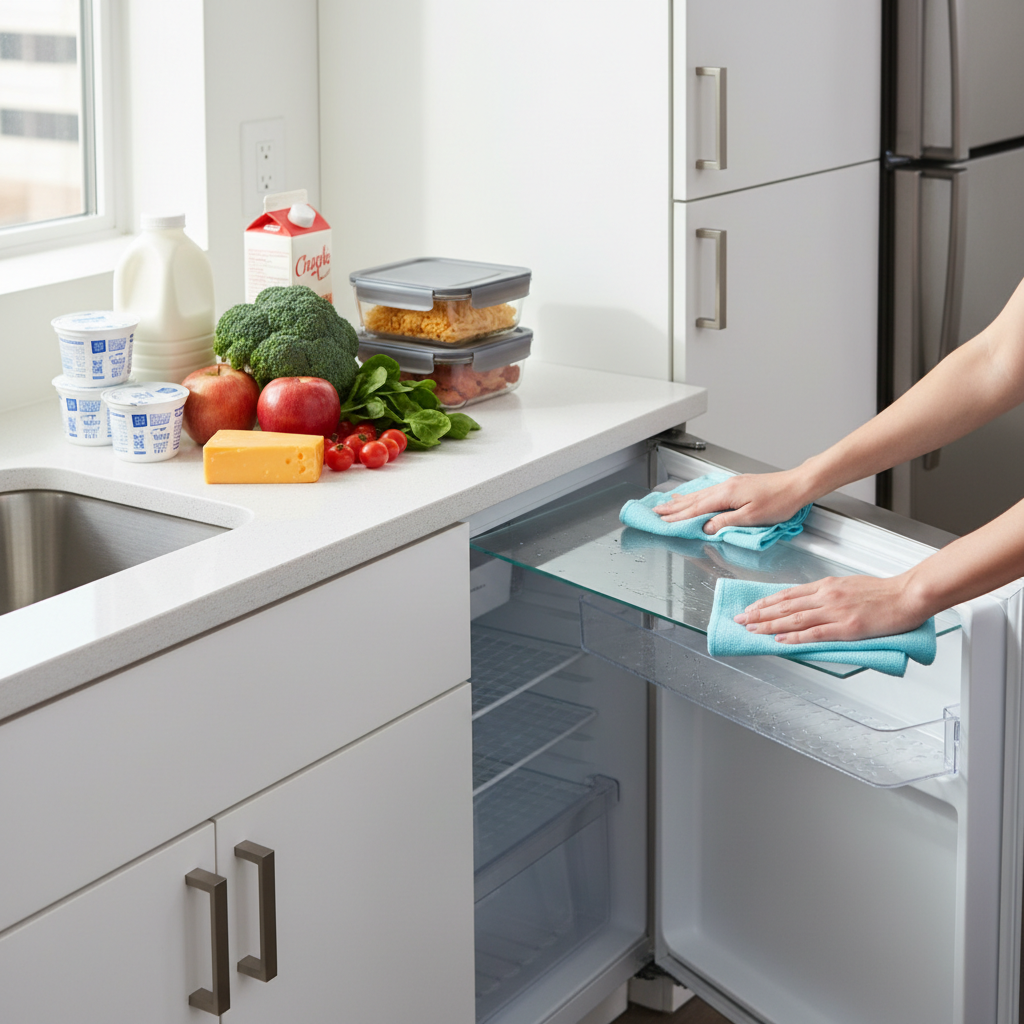
Do a fast “fridge edit” before you organize
Organizing on top of clutter feels productive, but it rarely holds. Give yourself 10–20 minutes to edit first, then organize what remains.
Quick edit steps that work in a small kitchen
- Pull everything out shelf by shelf, not all at once, so your counter doesn’t turn into chaos.
- Toss obvious expired items and anything unidentifiable in the back of the crisper.
- Wipe sticky rings and crumbs, they attract odors and make bins slide poorly.
- Group “same category” items together on the counter (dairy, condiments, produce, leftovers, drinks).
If you’re unsure about safety, don’t gamble. When in doubt about a food’s storage time or condition, it’s often safer to discard it, and you can check handling guidance from official sources like the USDA and FDA.
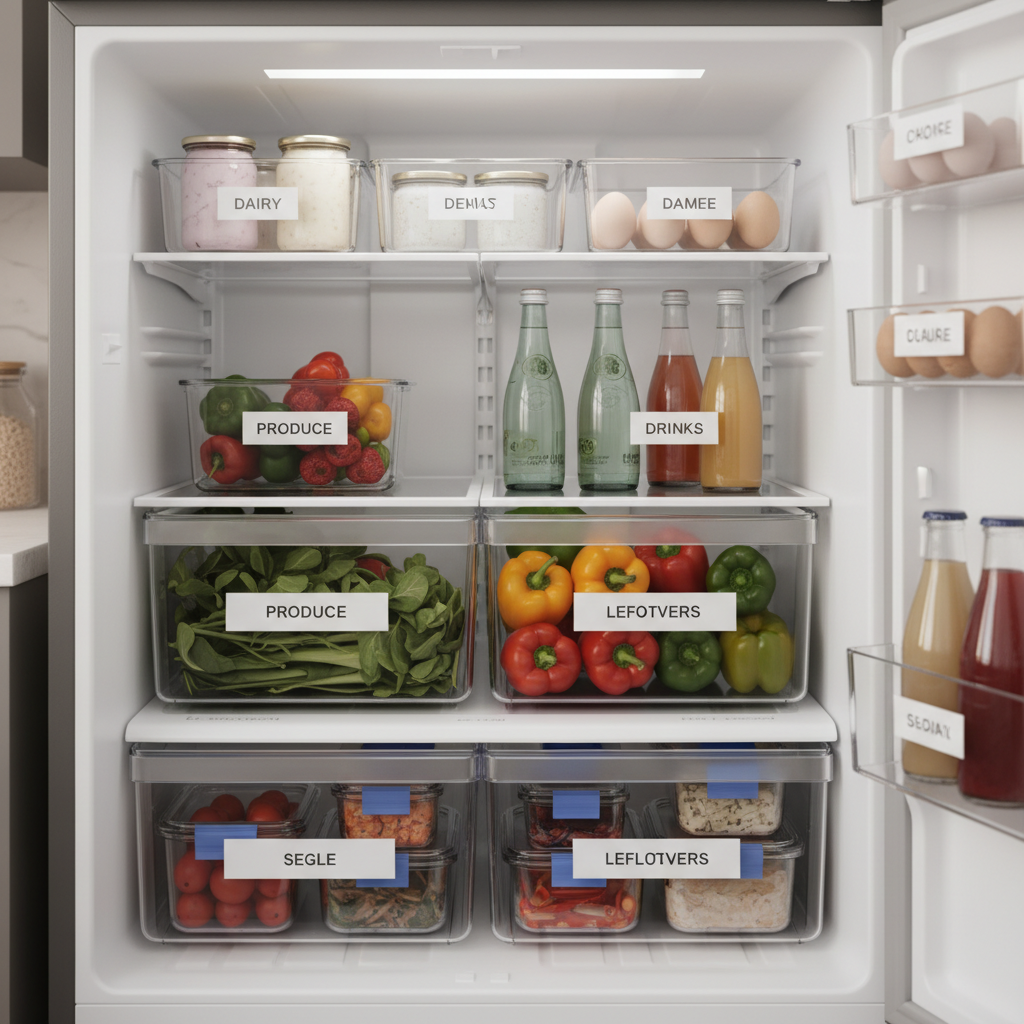
Set up simple zones you can remember (no overthinking)
When people ask how to organize a small fridge, they usually want a layout that stays intact even on a busy week. Zones do that, because you’re deciding once, then repeating.
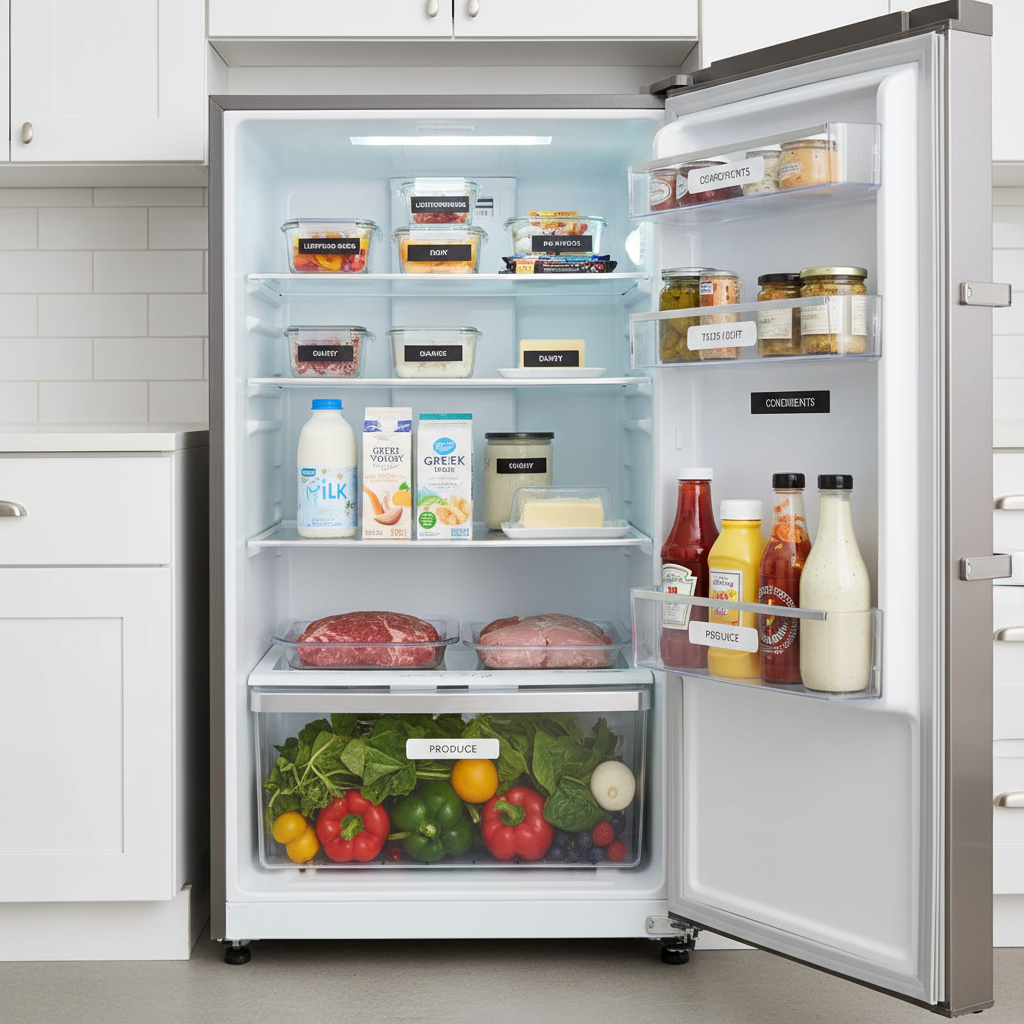
A practical zone map for most small fridges
- Top shelf: ready-to-eat foods, leftovers, yogurt, snacks. This is the “grab fast” zone.
- Middle shelf: dairy, eggs (if your fridge design supports it), deli items, meal prep components.
- Bottom shelf (coldest in many models): raw meat/seafood in a leak-proof tray or bin.
- Crisper drawers: produce, ideally separated by type if you can (greens vs. fruits), but don’t force it if you only have one drawer.
- Door: condiments, jams, pickles, butter. Avoid storing highly perishable items here if your door swings often.
According to the U.S. Department of Agriculture (USDA), raw meat, poultry, and seafood should be stored to prevent juices from dripping onto other foods, typically on the lowest shelf. In a small fridge, a dedicated bottom-bin makes this much easier to maintain.
Use containers that fit the fridge you have, not the one on social media
Storage tools can help a lot in tight spaces, but only if they match your shelf heights and what you actually buy. The goal is fewer “micro piles,” not more boxes to manage.
Best small-fridge organizers (usually worth it)
- Two shallow clear bins: one for “grab-and-go,” one for “open jars/partials.”
- A slim can dispenser or vertical drink row: frees shelf footprint.
- A low, rectangular deli bin: corral cheeses and deli meat so they don’t slide into the abyss.
- A leak-proof tray (or lidded bin) for raw proteins.
- One lazy Susan (only if shelves are deep): helps you reach sauces without unloading everything.
A small but real tip: measure shelf height before buying bins. Many “fridge organizer” sets are too tall for compact fridges, and then you end up stacking awkwardly, which kills the whole system.
A simple layout plan (with a table you can copy)
Here’s a straightforward “what goes where” setup that balances safety, access, and the reality that small fridges fill up quickly. If your fridge runs unusually cold or warm in certain spots, adjust based on what your thermometer shows.
| Fridge Area | Best For | Avoid | Organizer Idea |
|---|---|---|---|
| Top shelf | Leftovers, ready-to-eat snacks, drinks you open often | Raw meat, messy unsealed containers | Shallow “eat first” bin |
| Middle shelf | Dairy, eggs (often better on a shelf than door) | Overstacking (blocks airflow) | Clear deli bin |
| Bottom shelf | Raw meat/seafood, items needing colder temps | Loose packages that can leak | Leak-proof tray or lidded bin |
| Crisper drawer(s) | Produce, herbs, greens | Overfilling (causes bruising and hidden spoilage) | Produce bags or one small bin |
| Door | Condiments, pickles, shelf-stable beverages | Highly perishable items in a frequently opened door | Group condiments by type |
Make it stick: a 5-minute reset routine (and a realistic “eat first” rule)
The part people underestimate is maintenance. You can learn how to organize a small fridge in an hour, but you keep it organized with a short habit that prevents the slow drift into chaos.
The 5-minute reset (pick a consistent moment)
- Move leftovers and “use soon” items into one front bin.
- Wipe one obvious spill, don’t aim for perfect.
- Consolidate duplicates: two mustards become one shelf spot.
- Check the produce drawer for one item to prep or cook next.
Key takeaway: the “eat first” bin should be the most visible spot in the fridge, not a drawer. Visibility beats good intentions every time.
Common mistakes that waste space (and how to avoid them)
A few patterns show up in almost every cramped fridge. Fixing them typically frees more space than buying any organizer.
- Keeping bulky packaging: move yogurt cups, cheese sticks, or seltzer to a bin, recycle the box.
- Storing leftovers in mismatched containers: wide, stackable containers usually fit small shelves better than tall round ones.
- Hiding produce: if you always forget greens, keep them at eye level and put condiments in the drawer instead, yes, it feels backwards, but it works.
- Overloading the door: too many heavy bottles makes the door harder on hinges and warms contents faster from frequent opening.
- Blocking the back wall: if your fridge has a cold spot that freezes items, pull food slightly forward and avoid resting delicate produce against it.
When food safety or fridge performance needs more than organizing
Sometimes the “mess” is a symptom. If you notice recurring spoilage, freezing in random areas, or strong odors that return right after cleaning, it may be more than layout.
- Temperature swings: use a thermometer for a few days, if it can’t stay near 40°F (4°C) or below, consider appliance service.
- Persistent leaks: could be a clogged drain line or door gasket issue, a technician can confirm.
- Mold or allergy concerns: if you’re sensitive or the issue keeps coming back, it may be worth asking a qualified professional for guidance on cleaning and replacement parts.
Organizing helps, but it can’t compensate for a fridge that doesn’t cool reliably.
Conclusion: keep it simple, keep it visible
If your small fridge feels impossible, you don’t need a complicated system, you need clear zones, one front-and-center “eat first” spot, and a short reset that prevents buildup. Do the edit, pick a layout, then let repetition do the work.
Action steps that tend to pay off quickly: measure your shelves and buy just two shallow bins, then set a weekly 5-minute reset time that you can actually follow.