How to clean tile floors without leaving residue comes down to two things most people skip: using less product than the label suggests, and doing a real rinse step when your floor needs it.
That “clean-but-sticky” feeling is usually not dirt, it’s leftover cleaner, softened grime, or minerals from hard water that dry into a film. Tile makes it obvious, especially on glossy ceramic and porcelain, and it can show up as haze, footprints, or dull streaks in sunlight.
This guide breaks down why residue happens, how to tell what kind you’re dealing with, and a practical routine you can repeat without turning floor care into a weekend project.
Why tile floors get residue (even when you “cleaned” them)
Residue is rarely mysterious. It’s usually one of these common situations, and the fix depends on which one you have.
- Too much cleaner: Concentrates are designed to be diluted, and many mops don’t remove liquid, they spread it. Extra product dries into a tacky film.
- No rinse on a dirty floor: If the first pass picks up greasy soil, the mop water becomes “dirty soup,” and that dries on the surface.
- Hard water minerals: Calcium and magnesium can leave a dull haze, especially if you use a lot of water and let it air-dry.
- Wrong chemistry for the soil: Grease needs a mild degreaser, mineral haze needs a gentle acid rinse. Using the opposite can smear instead of lift.
- Old wax or “shine” products: Some products marketed for floors leave a coating. On tile, that coating can attract soil and look cloudy.
According to EPA, disinfectants and cleaners should be used exactly as directed on the label, including dilution and contact time, which also helps avoid overuse that can cause buildup.
Quick self-check: what kind of residue are you seeing?
Before you change your whole routine, do a fast diagnosis. It saves time and prevents mixing the wrong products.
Simple tests you can do in 5 minutes
- Sticky/tacky feel under socks, more noticeable in high-traffic lanes: often soap or cleaner buildup.
- White haze that looks worse after drying: often hard-water minerals or leftover cleaner that never got rinsed.
- Oily smears that move around when you wipe: usually kitchen grease and body oils.
- Spot test with warm water: Wipe a 1 sq ft area with plain warm water and a clean microfiber cloth. If it improves quickly, residue is likely water-soluble cleaner.
- Vinegar spot test (only on safe surfaces): On glazed ceramic/porcelain tile, a very diluted vinegar wipe may reduce mineral haze. If you have natural stone or are unsure, skip this and check your flooring guidance.
If you’re not sure what your tile is, play it safe. Acidic cleaners can etch some surfaces, and grout can react differently than the tile face.
The no-residue method: a repeatable routine that works in most homes
When people ask how to clean tile floors without leaving residue, what they usually want is a routine that feels “done” when it’s done: no second-guessing, no sticky finish the next morning.
Step 1: Dry remove grit first (don’t skip)
Vacuum or dust mop to pull up sand and crumbs. Grit plus water turns into slurry, and slurry dries into dull streaks.
- Use a vacuum with hard-floor setting, or a microfiber dust mop.
- Hit edges and under stools where grime concentrates.
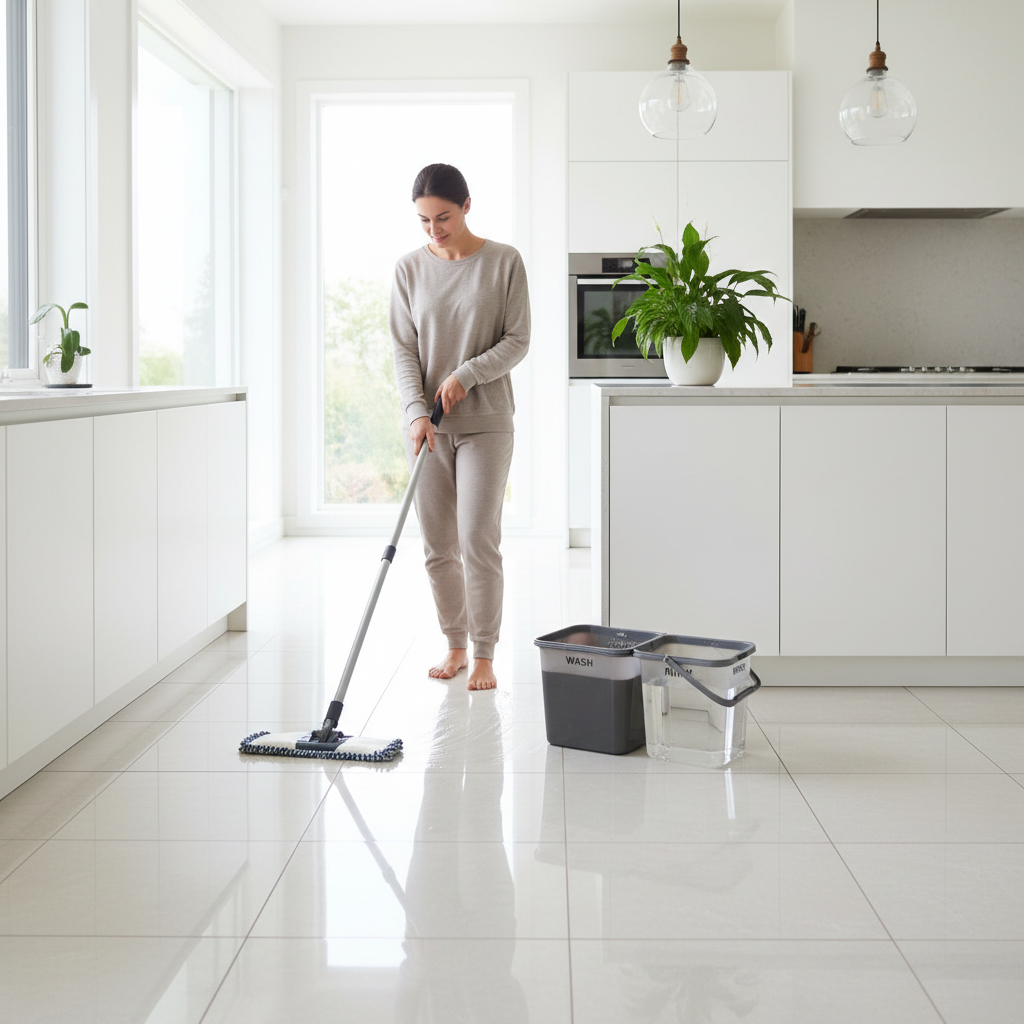
Step 2: Use the right mop head and less solution than you think
Microfiber lifts and holds soil better than a string mop, which tends to push dirty water around.
- Mix cleaner at the minimum effective dilution on the label, not “a little extra for shine.”
- If you don’t have a measuring cap, measure once with a tablespoon and write it down.
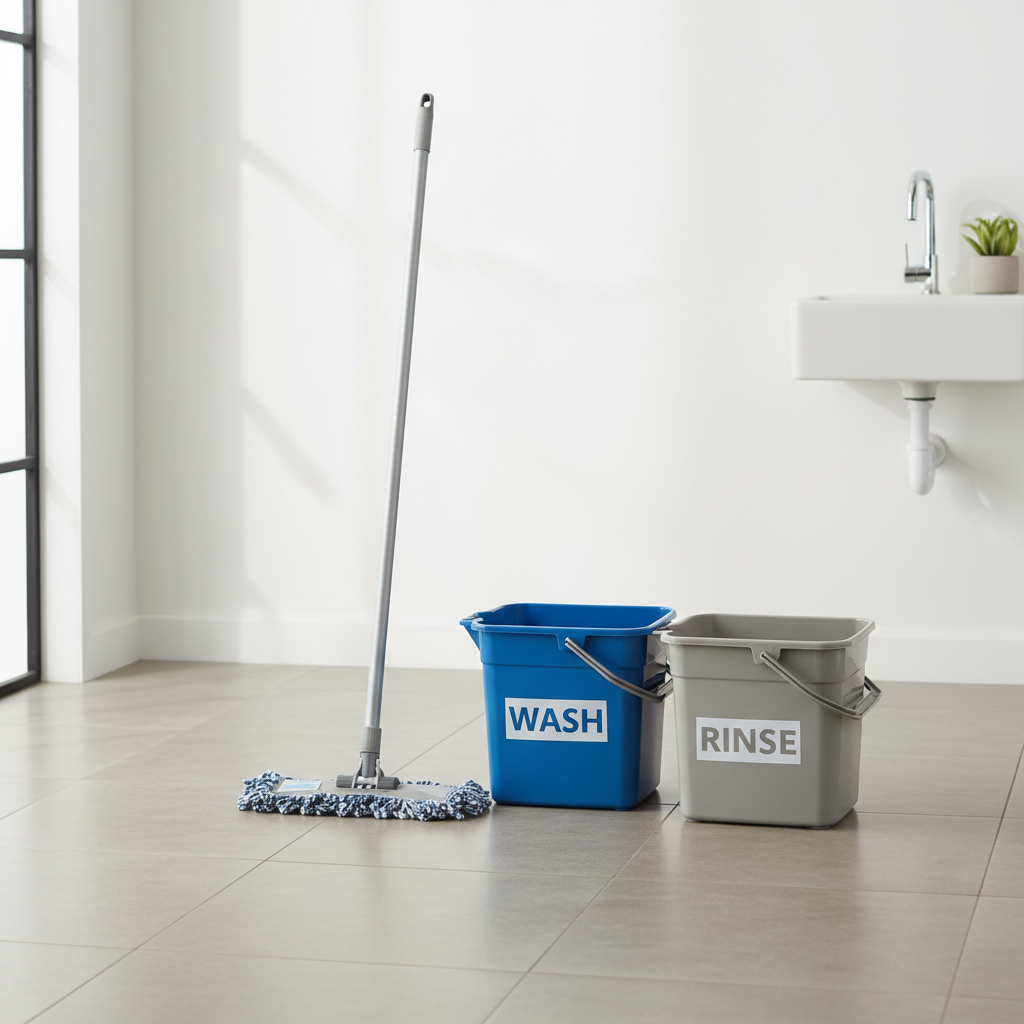
Step 3: Two-bucket (or spray-and-wipe) beats one-bucket
One bucket becomes contaminated fast. Two buckets keep rinse water clean, so you don’t redeposit soil.
- Bucket A: cleaning solution
- Bucket B: plain warm water for rinsing the mop
- Wring the mop well; tile should look damp, not flooded.
Step 4: Rinse strategically
You don’t always need to rinse an entire floor, but many households do need a rinse pass in kitchens, entryways, and around pet bowls.
- If your cleaner is “no-rinse,” you may still need a rinse when buildup already exists.
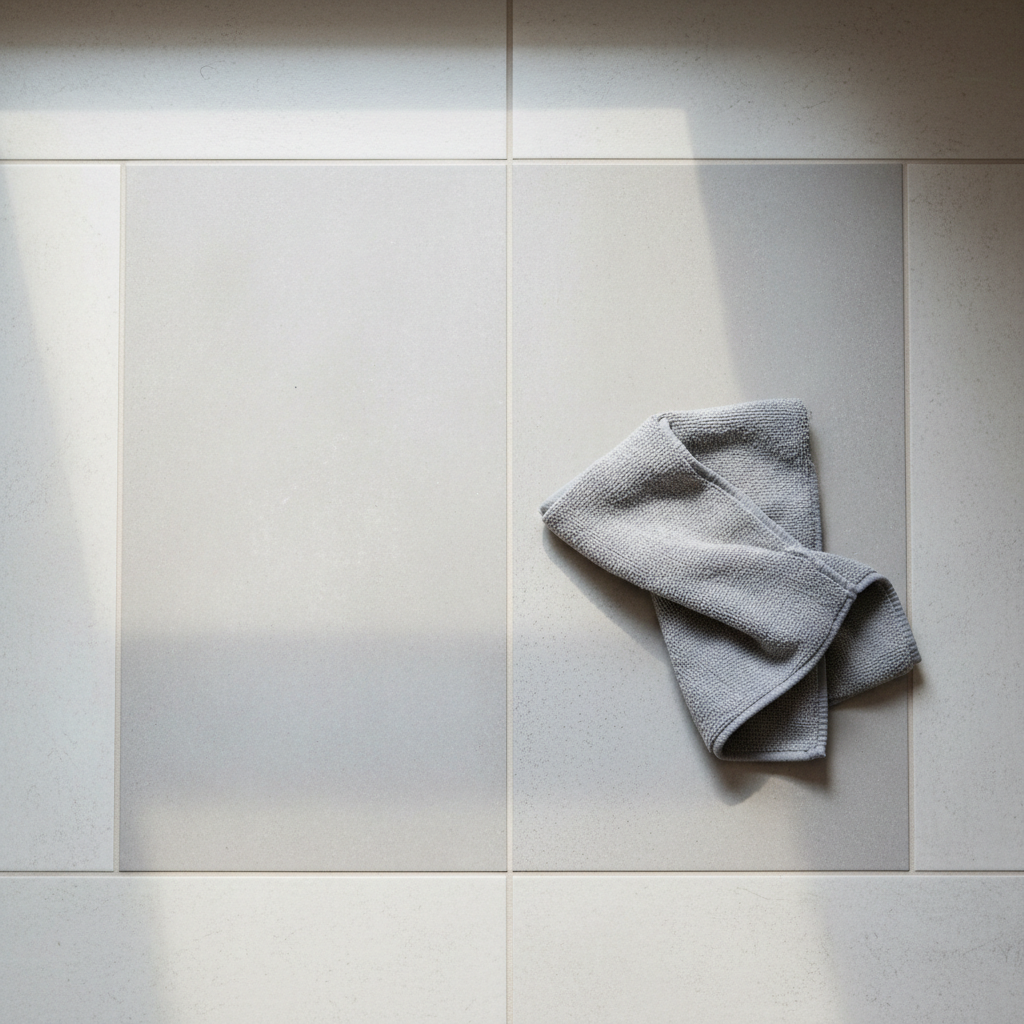
- Rinse pass = plain warm water with a clean microfiber pad, changed when it looks gray.
Step 5: Dry faster to prevent minerals and streaks
- Turn on a fan or HVAC for airflow.
- For glossy tile, a quick buff with a dry microfiber towel reduces spotting.
Cleaner choices that tend to leave less film (and when to use them)
There’s no single “best” product for every home. The goal is matching chemistry to your soil and your water, while keeping residues low.
| Situation | What usually works | What often causes residue |
|---|---|---|
| Daily/weekly light soil | pH-neutral tile cleaner, diluted correctly, microfiber mop | Too much concentrate, “shine” boosters |
| Kitchen grease | Mild degreasing floor cleaner, rinse pass in traffic lanes | Soap-heavy DIY mixes that smear oils |
| Hard water haze | Distilled water for rinsing, or a tile-safe mild acid rinse on appropriate tile | Letting tap water air-dry repeatedly |
| Disinfecting after illness | EPA-registered disinfectant used per label, then rinse if label requires or surface feels tacky | Over-application, not wiping after required contact time |
According to CDC, disinfecting is different from cleaning, and you generally need to clean first so disinfectants can work as intended.
Fixing existing buildup: when the floor is already sticky or hazy
If the floor currently feels tacky, doing your normal routine “better” may not be enough. You usually need one reset clean to remove what’s already on the surface.
Option A: Warm-water reset (lowest risk)
- Vacuum first.
- Mop with plain warm water and a clean microfiber pad.
- Change pads frequently; if you keep using a dirty pad, you’re repainting the problem.
- Let dry, then assess. If it improved a lot, residue was likely cleaner buildup.
Option B: Neutral cleaner + rinse (for mixed soil)
- Use a pH-neutral tile cleaner at label dilution.
- Follow with a plain-water rinse pass.
- Buff dry on glossy tile or dark tile where streaks show.
Option C: Mineral haze approach (only when appropriate)
If you strongly suspect hard-water deposits, a tile-safe descaler may help on many ceramic/porcelain surfaces, but natural stone is a different story. If your home has stone tile or you’re unsure, confirm your surface type or ask a pro before using acidic products.
Grout matters: residue often collects where you notice it most
People blame the tile, but grout lines are porous, and they hold onto soil and cleaner. That contrast makes the floor look “still dirty” even when the tile is clean.
Practical grout habits that reduce film
- Use a soft brush for grout only when needed; scrubbing every week can wear grout and spread slurry.
- Rinse grout-heavy areas well, since cleaner likes to sit in grooves.
- Consider grout sealing if your grout darkens quickly after cleaning; it can reduce absorption, though results vary by grout type and application quality.
According to The Tile Council of North America (TCNA), product selection and maintenance should match the tile and grout type, and using appropriate cleaners helps prevent long-term surface issues.
Common mistakes that keep residue coming back
- Mixing products: Combining cleaners can reduce effectiveness or create irritating fumes. If you’re switching products, rinse the floor first.
- “More bubbles = more clean” thinking: Suds often mean you’ll need more rinsing.
- Reusing the same dirty water: If the water looks gray, your floor will dry gray.
- Over-wetting the floor: Puddles pull soil out of grout and dry unevenly, leaving marks.
- Using vinegar on the wrong surface: It can damage some stone and some finishes. When in doubt, choose a neutral cleaner.
When it’s worth calling a professional
Some residue problems are really coating or surface damage problems, and DIY efforts just chase symptoms.
- Persistent haze that never changes, even after plain-water resets, may be etching, worn finish, or old coating.
- Sticky film that returns fast can point to wax/polish buildup that needs stripping with the right product and process.
- Loose or cracking grout, or water seeping issues, should be evaluated by a tile professional.
If you have sensitivities, pets, or small children, it can be smart to ask a pro about product choices and ventilation, since indoor air irritation varies by cleaner type and application.
Key takeaways (save this for next cleaning day)
- Less cleaner, more rinsing is the simplest way to avoid film.
- Microfiber + two-bucket routine prevents redepositing dirty water.
- If you have hard water, consider distilled water for the final rinse in problem areas.
- Match the cleaner to the problem: grease, minerals, or buildup.
Conclusion: keep it simple, and your tile will look cleaner longer
If you’re trying to figure out how to clean tile floors without leaving residue, start by cutting your product amount, switching to microfiber, and adding a quick rinse pass where buildup shows up most. That combo solves the majority of “sticky” and “hazy” complaints without special tools.
Pick one change for your next cleaning day, not five. For many homes, the biggest win is a two-bucket setup and a measured dilution, then reassess after the floor fully dries.