Budget friendly wall art ideas for living room make the biggest difference when your space feels plain, mismatched, or “almost done” but not quite there. The good news is you usually don’t need a big budget, you need a clearer plan: what size, what style, and what to hang where.
Most people overspend because they buy random pieces they like individually, then realize nothing works together, or the scale feels off above the sofa. A little structure up front saves money, returns, and that annoying feeling that your walls still look empty.
Below is a practical way to decide what to buy, what to DIY, and how to arrange pieces so they look intentional. No “magic hacks”, just what tends to work in real living rooms with real constraints.
Start With the Wall, Not the Art: Size, Scale, and Focal Points
If your wall art keeps looking “too small” or “too busy,” the issue is usually scale. A living room wall often needs fewer, larger shapes than you think, especially above a sofa or console.
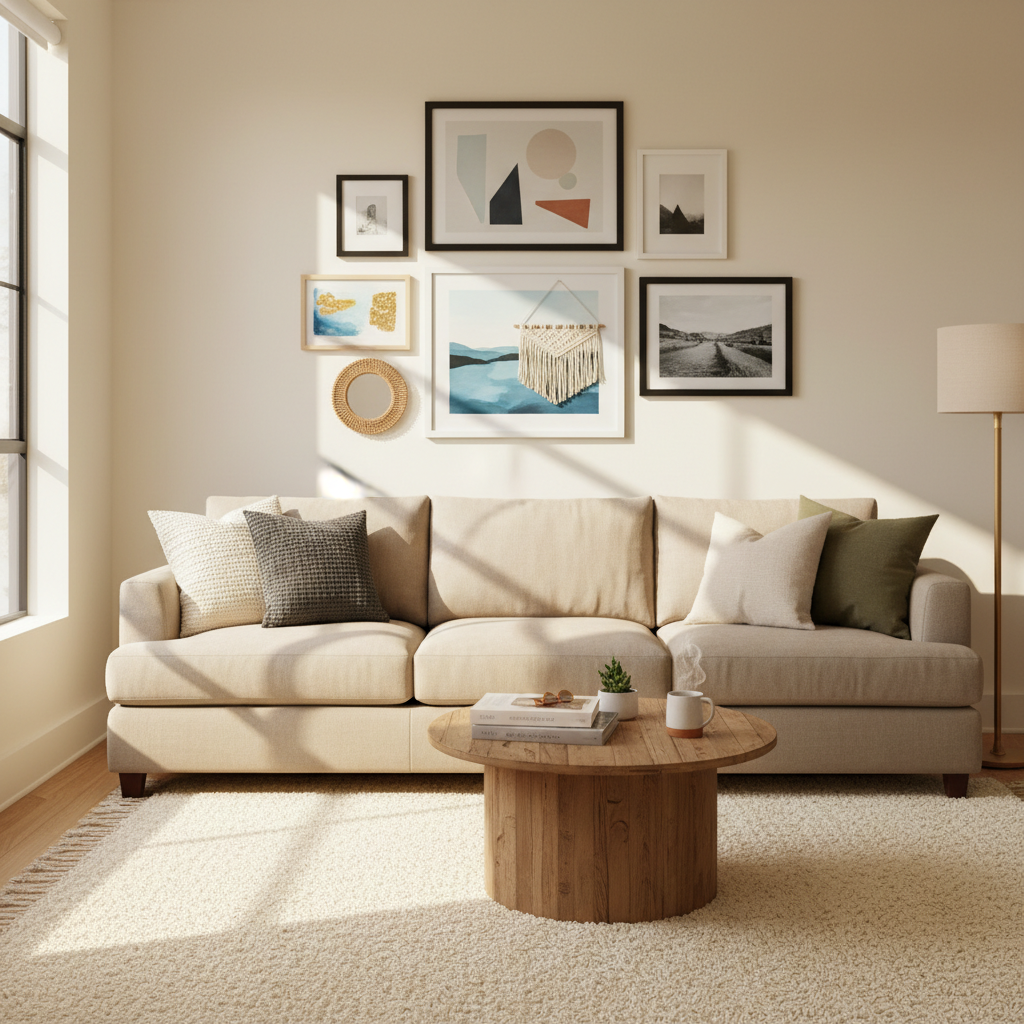
- Above a sofa: aim for art that spans about 2/3 to 3/4 of the sofa width, whether that’s one large piece or a grouped set.
- Hanging height: the center of the artwork often lands around eye level for most adults, then you adjust for furniture height.
- One focal wall is enough: many rooms look better when you commit to one “main moment” and keep the other walls quieter.
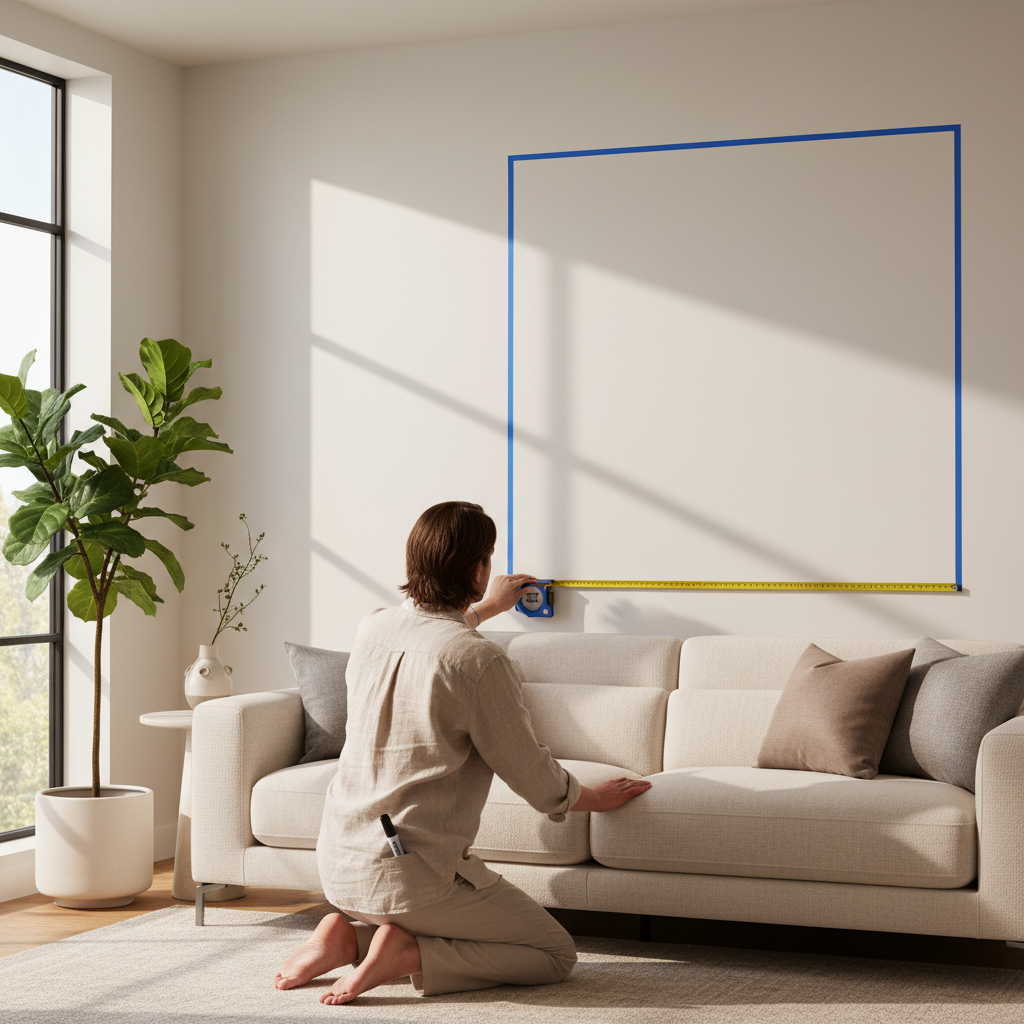
Before shopping, take a quick phone photo of the wall, then use painter’s tape to map the rough size you need. It’s low effort, and it prevents the classic mistake: buying three small frames that disappear once they’re up.
Where to Find Affordable Art That Still Looks “Grown-Up”
“Cheap-looking” wall art usually comes from glossy prints, flimsy frames, and generic imagery. You can keep costs down while upgrading the overall feel by focusing on materials and presentation.
Reliable low-cost sources
- Digital downloads + local printing: you control paper type and size, and you can reprint later if needed.
- Student art shows, local markets: often unique work at accessible prices, plus you get a story behind it.
- Thrift stores + estate sales: frames, mats, and even original art show up constantly, but you have to be willing to edit.
- Museum and library shops (online): classics tend to look timeless, even in small formats.
One money-saving move that reads as “designer” is repeating a color across pieces, for example black-and-white photography with one muted accent, or warm neutrals with one deep tone. It makes mixed sources look curated.
DIY Options That Don’t Feel Like a Craft Project
DIY gets a bad reputation because people overcomplicate it, or they choose trendy materials that age fast. Keep it simple, bigger scale, cleaner lines, and your budget friendly wall art ideas for living room instantly feel more intentional.
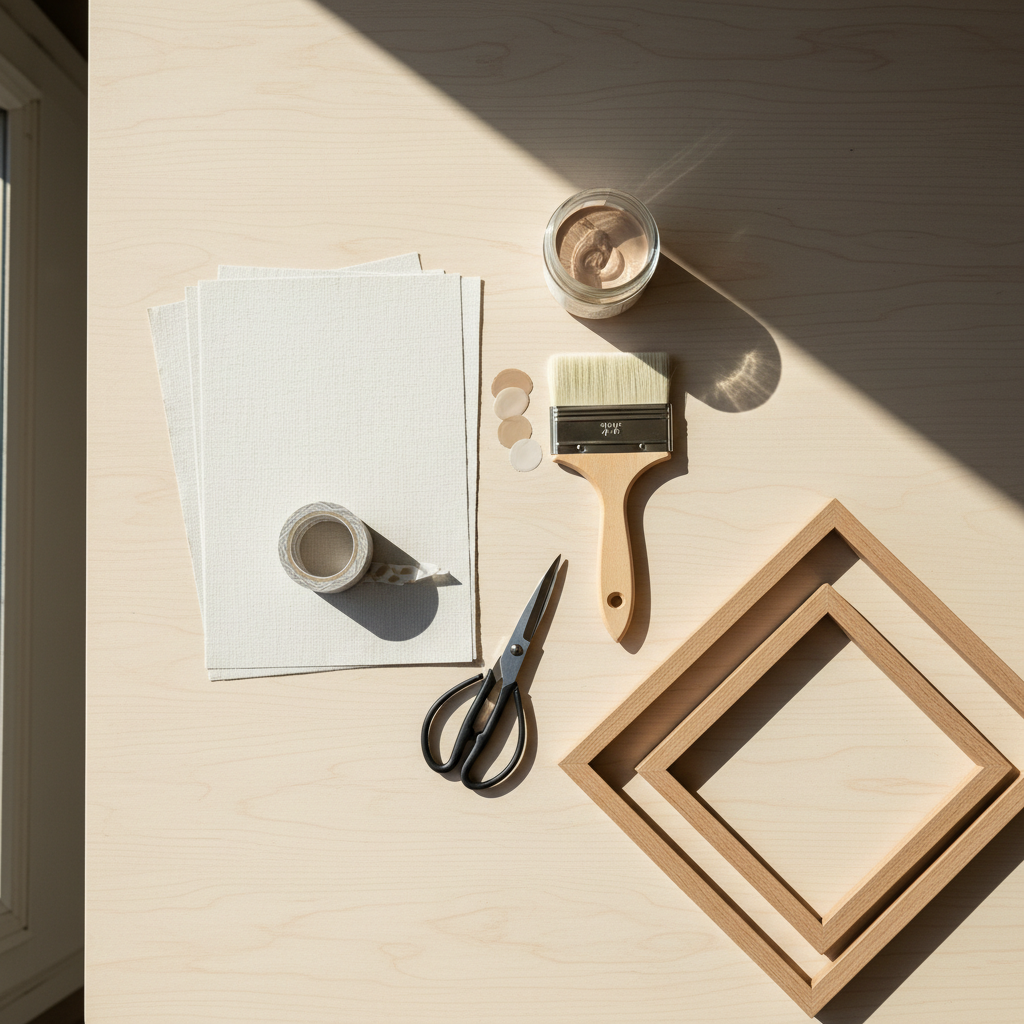
DIY ideas that look polished
- Large abstract on paper: one or two colors, wide brush strokes, lots of blank space, then frame it.
- Textile-as-art: a scarf, vintage fabric, or a small rug remnant stretched in a frame.
- Personal photo series: 3–6 photos with the same edit (black-and-white or warm film look) in matching frames.
- Matboard “upgrade”: even inexpensive prints look better with a wider mat and a consistent frame finish.
According to the U.S. Consumer Product Safety Commission (CPSC), heavy items should be secured appropriately to reduce tip-over and fall hazards, which matters if you hang larger frames or shelves in a family space. If you’re unsure about wall type, anchors, or stud placement, it’s reasonable to ask a handyman.
How to Build a Gallery Wall Without Wasting Money
Gallery walls can be affordable, but only if you plan the layout before you buy frames. Otherwise you end up with a pile of mismatched sizes and a wall that feels jittery.
A simple layout process that works
- Pick one “hero” piece: the largest print or a mirror, then build around it.
- Limit finishes: stick to 1–2 frame colors (for example black + light wood) to avoid visual clutter.
- Keep spacing consistent: many people like 2–3 inches between frames, but consistency matters more than the exact number.
- Test on the floor first: arrange the full set, take a photo, then commit.
If your walls are busy already, choose calmer art and more negative space. If your furniture is very neutral, you can afford bolder pieces without making the room feel loud.
Fast Wins: Big Impact Wall Art Ideas Under Common Budgets
If you want a quick direction, this table maps typical budgets to the moves that usually look most convincing in a living room.
| Budget range | What to do | Why it works |
|---|---|---|
| $25–$75 | One oversized digital download print + thrifted frame, or a framed textile | Large scale reads intentional, even if materials are inexpensive |
| $75–$200 | 3-piece set with matching frames, or a small gallery wall using consistent mats | Repetition and alignment create a “designed” feel |
| $200–$500 | One statement piece (original, limited print, or oversized framed photography) | A single focal point can carry the whole room |
Key takeaway: when money is tight, spend on scale and framing choices, not on having lots of different pieces.
Practical Step-by-Step: From Blank Wall to Finished Look
If you’ve been collecting ideas but not executing, this is the simplest workflow to get it done in one weekend.
- Step 1: choose one wall to “finish” first, usually above the sofa or the main seating view.
- Step 2: pick a mini style rule, like “black frames only” or “warm neutrals + one deep blue.”
- Step 3: decide the format: one large piece, a diptych (2 pieces), a triptych (3 pieces), or a gallery grid.
- Step 4: measure, tape the outline, and confirm scale from across the room.
- Step 5: buy art and frames, then upgrade with wider mats if the prints look small.
- Step 6: hang with the right hardware for your wall type, then step back and adjust by inches, not by feet.
If you get stuck, simplify: one large frame centered above the sofa beats a complicated gallery wall you never finish. Budget friendly wall art ideas for living room are only “ideas” until something is actually on the wall.
Mistakes That Make Cheap Wall Art Look Cheaper (and What to Do Instead)
- Too many small frames: swap for fewer pieces, or add mats to increase visual weight.
- Random themes: keep the subject consistent, like landscapes only, or abstract only, for one wall.
- Shiny, thin frames: try matte finishes, simple wood, or thrifted solid frames repainted.
- Hanging too high: bring the art down closer to the furniture so it feels connected to the room.
- Ignoring lighting: glare can ruin prints, so position away from direct reflections when possible.
And one more thing people don’t love hearing: if everything in the room is beige, “safe” art can make it feel flat. Even a small amount of contrast, black ink lines, deep green, dark navy, often adds life without needing expensive pieces.
Conclusion: A Budget Look Comes Down to Planning, Not Price
Budget friendly wall art ideas for living room work best when you commit to one wall, one style rule, and one scale plan before you shop. Once you handle size and cohesion, affordable prints, thrift finds, and simple DIY can look genuinely put-together.
If you want a quick next step, tape out one layout tonight, then choose either one statement piece or a three-piece set, it’s the easiest way to get a finished look without spiraling into endless browsing.